



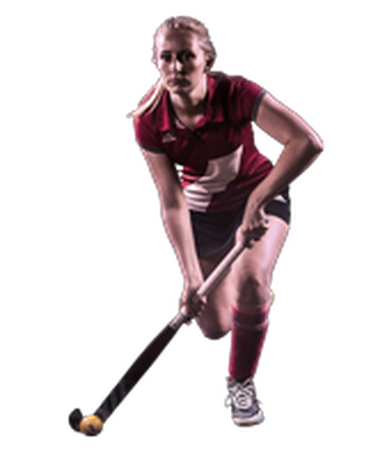
Hockeyexercises for u15
- Make a triangle with pilons (2 meters between each pilon).
- Player red starts with ball at the pilon 5 meters away from the triangle.
- Player red passes to player blue while he dynamically moves towards and around the triangle.
- Player blue pivots the ball and plays the ball to player white.
- Player white plays the ball back to the starting point (red).
- During the exercise, each player runs behind his/her ball.

- The game starts with a pass from player 1 to player 2
- Player two gives a clean pass along the line
- Whereupon player 3 runs towards the line to receive the ball with a backhand
- Player 4 runs along the pilon and positions himself on the top of the circle or continues running by the tip.

The player with the red pilon is ready for the long corner. This player plays the ball to the left and gives the ball to the player coming from the white pilon. The player of the white pilon plays the ball as hard as possible into the circle (towards the goal).
When the long corner is taken, the players try to run into the blue and orange pilon and intercept the ball. The player who intercepts the ball scores on the back line and the other player scores on the 23-m line. It becomes a 1 to 1.
Swap: Red - White - Blue - Orange - Red
Attention: The player who takes the long corner stands ready as if he himself is going towards the circle. Pass the ball hard and low towards the dot.
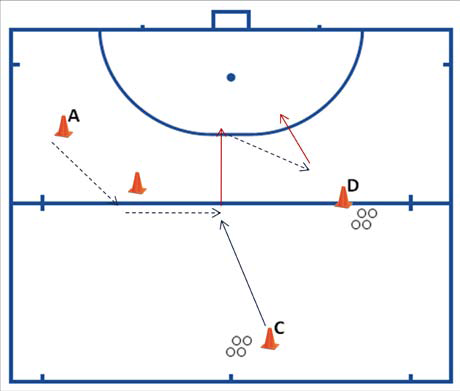
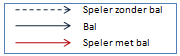
- Put out the columns as shown in the figure
- Spread the balls over pylon C and D.
- In this exercise you place a player at pylon C and D.
- The rest of the team will line up at pylon A.
- From A onwards, the player walks around the pylon
- From the post, the player makes a sideways movement facing the ball (facing C).
- Player C plays the ball in the forehand of A
- A takes the ball and turns right open
- A runs in the direction of the circle and finishes at goal.
- From here he runs to D and receives another ball.
- The player turns open to the left and finishes on goal again.
- Make groups of 2.
- No. 1 must try to hit the ball of
- no. 2, staying in a designated area. How often does No. 1 succeed? After some time, switch around and No. 2 may try to hit the ball of No.1.

- The tagger should try to tap as many children as possible.
- If you are in danger of getting tapped you can call a television show and then the tagger is not allowed to tap you.
- You have to stand with your legs wide.
- The rest can be relieved by crawling between your legs.
- When you are tapped, you stand by the trainer.
- 2 players give each other a hand and start tapping together (don't let go).
- Player who is tapped gives a 3rd hand and when another player is tapped they form another twin pair.
(each group of four splits).
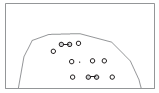
- Groups of 2 in a row.
- There is one tagger and one runner.
- The one who has to run away, because otherwise he will be tapped, will quickly stand in front of 2.
- The last one of these two has to run away quickly in order not to be tapped, because 3 is too much! If you get tapped, you become the tagger.
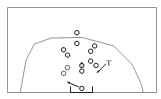
- 1 or 2 taggers.
- On the spot where you are tapped, the tagger must hold his hand, for example, a hand on his shoulder.
- With the other hand another has to be tapped.
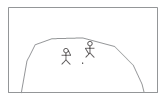
- One tagger has a stick in one hand and taps with his other hand.
- The tagged player will then hold the stick with it and also tap with it.
- The tagger must not let go of the stick.
- If there is a large group, assign two or more taggers.

- 1 player has a stick and a tagger is assigned;
- only the player who has the stick may be tapped, so the stick is always passed on quickly (vertically for safety reasons and do not throw it!).
- If the tagger doesn't have a chance, add more than one stick to the game.

- Pass the ball to a fellow player under/over the pylons with stick.
- Passes: push, slide and flats.
- Stick at different heights
- increase distance between each other
- pylons closer together (gate smaller)
- Perform the exercise with groups of three
